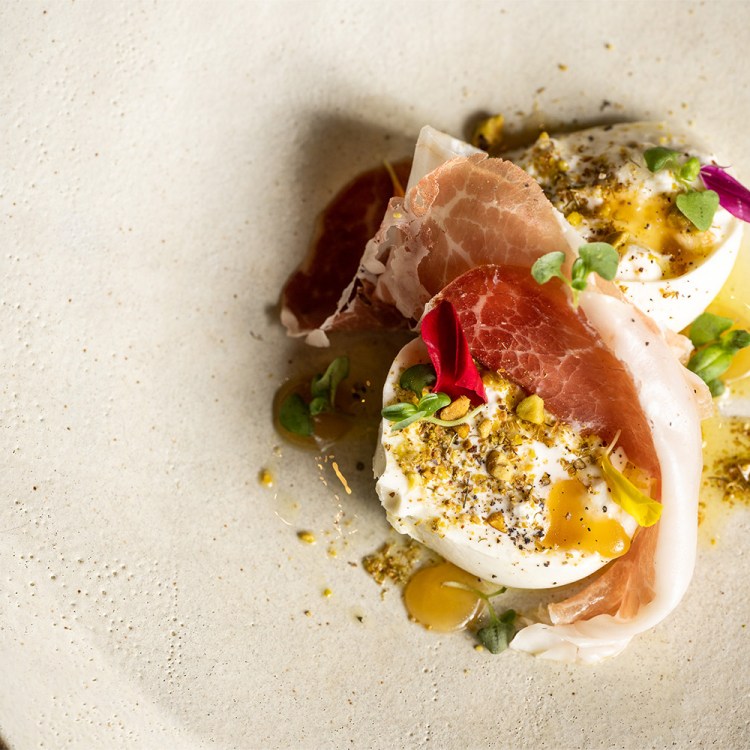
First made in 1954 by Leaudra and Walter Kern along with their son George, the first Derby-Pie® was served to guests at the Melrose Inn in Prospect, Kentucky. Now, more than 60 years later, the Kerns are still making the chocolate-and-walnut-filled pie from their secret family recipe, which, as you can see above, has even been registered with the U.S. Patent & Trademark Office.
So, when second-generation piemaker Petra Paredez of cult New York bakery Petee’s was asked by customers to create something special for the Kentucky Derby, she knew she couldn’t use the Kern’s name. Paredez, the author of Pie for Everyone, also decided she didn’t want to use their recipe.
“I set about making one that was sort of like a mashup of our pecan pie with honey and our maple walnut pie,” Paredez tells InsideHook. “I put in both kinds of nuts, a little extra cornmeal for texture and chopped dark chocolate. With chopped dark chocolate, instead of chocolate chips or something, you have bigger pieces and smaller pieces. The smaller pieces sort of meld with the filling, while the bigger pieces retain some of their texture. It’s nice because a nut pie has the potential to be really sweet, but by using dark chocolate, it sort of cuts the sweetness a little bit.”
Another ingredient Paredez added to cut down on the sweetness in her creation, which she dubbed Pony Pie? Whiskey.
“If you use a really robust bourbon, it will complement the honey really nicely. That flavor is going to really sing,” she says. “I like having a really flavorful bourbon. Something that’s aged and a little darker so that those flavors come through.”
While perhaps not as traditional as an apple or pumpkin pie, there’s no reason Pony Pie can’t be at home on your holiday table, according to Paredez.
“It’s sort of dark and brooding — and intense,” she says. “I would say definitely make it, but give yourself a nice little slice so you can appreciate it without ending your dinner too heavy. It’s meant to be enjoyed in smaller quantities. It’s not going to get you drunk, but if you’re the kind of person who’s averse to the taste of alcohol, it’s probably not your thing.”
Is it yours? Test out the recipe below to find out.
Petra Paredez’s Pony Pie
Ingredients
- 1⁄2 cup (1 stick/115 g) unsalted butter
- 1⁄2 cup (120 ml) honey
- 1 cup (220 g) packed light brown sugar
- 3 eggs
- 1⁄2 teaspoon salt
- 2 tablespoons bourbon whiskey
- 1⁄2 cup (50 g) whole walnuts
- 1⁄2 cup (50 g) whole pecans
- 1⁄2 cup (85 g) chopped dark chocolate
- 1 bottom crust, crimped (1⁄2 recipe any crust type; see pages 50 and 52)
Directions
- Preheat the oven to 400°F (205°C).
- In a small saucepan, melt the butter over medium heat. Remove from the heat and allow to cool for 10 minutes, then whisk the honey into the melted butter. Set aside.
- In a large bowl, whisk together the brown sugar, eggs, salt and bourbon. Whisk the honey butter into the sugar mixture until smooth. Stir in the walnuts, pecans and chocolate.
- Place the crust on a baking sheet. Pour in the filling, making sure to scrape the entire contents from the sides of the bowl into the pie. Place on the middle rack of the oven and bake for 10 minutes, then reduce the heat to 350°F (175°C) and bake for 40 minutes more, or until the center of the pie has puffed up.
- Transfer the pie to a cooling rack and allow to cool for 30 minutes before serving. Serve warm or at room temperature. The pie will keep for up to 1 week at room temperature.
Butter Pastry Dough
- 1 tablespoon sugar
- 1¼ teaspoons salt
- 1⁄4 cup (60 ml) boiling water
- 1½ loosely filled cups (180 g) pastry flour, from the freezer
- 2⁄3 loosely filled cup (80 g) all-purpose flour, from the freezer
- 1 cup (2 sticks/225 g) cold unsalted butter, cut into 1⁄2 -inch (12-mm) pieces
- Extra flour, for rolling
Making Dough With a Grater
- Stir the sugar, salt and water together in a small bowl until the sugar and salt are fully dissolved. Place the bowl in the freezer — the liquid needs to be ice cold before it is added to the dough.
- Put the flour(s) in a large bowl. Position the grater directly over the bowl. Grate the butter or lard right into the flour, shaking the bowl every so often to coat the fat in flour. Make sure you don’t leave any of the fat inside the grater. Toss to fully coat the pieces of fat in flour.
- Sprinkle the ice-cold sugar-salt solution over the fat and flour. Use your fingers to lightly toss the contents of the bowl around to disperse the liquid.
- Squeeze the shaggy mess with your fists, repeatedly and quickly, until the chunks get bigger and more cohesive.
- At first it will be crumbly and seem as if it won’t come together, but with continued compression, you can begin to make two mounds of dough of roughly equal size. Flatten your mounds into 1-inch- (2.5-cm-) thick disks.
Working With the Dough
Once you’ve made your dough, there are a few different directions you can go, but they all start with rolling. The recipes all yield enough dough to make both a top and bottom crust or two bottom crusts, plus a little extra to bake into a sweet snack I call Sugar Scraps.
If your kitchen is warm and the dough feels soft, you may want to chill your dough for 15 to 20 minutes before rolling. Alternatively, if it feels chilly and stiff, leave it to rest at room temperature for around 20 minutes before rolling. Due to the low moisture and high fat content of these doughs, there’s very little gluten development. This means that if the dough is at room temperature, there’s no need to let it rest for an hour before rolling it, as per standard pastry wisdom. With the exception of a few of the savory pies, you will need to start by making a bottom crust.
How to Roll a Dough Sheet and Make a Bottom Crust
- Prepare a clean, dry, nonporous surface by sprinkling it with the flour appropriate for your choice of dough.
- Place a disk of dough on top of the floured surface and sprinkle it with a little more flour. Place your rolling pin in the center of the dough and roll away from yourself with firm, even pressure, but not enough force to squish the dough. As you approach the edge of the dough, use a little less pressure so that it doesn’t become too thin on the edges.
- Rotate the dough about 45 degrees. Place the rolling pin at the center of the disk and roll away from yourself once again.
- Continue to rotate and roll, adding more flour as needed to prevent the dough from sticking to the surface and/or the rolling pin, until you’ve rolled the dough to approximately 1⁄8 inch (3 mm) thick. If the dough starts to split on the edges, you can gently press it back together before continuing to roll it out. The finished sheet of dough should be roughly 12 inches (30.5 cm) in diameter.
- Transfer the sheet of dough into a pie pan, centering it so that you have at least 1 inch (2.5 cm) of extra dough all the way around the edges of the pan. While transferring, support the dough with your fingers spread out, in order to distribute the weight and prevent breakage.
- Alternatively, put your hand and wrist under the silicone mat along the center line of the dough circle and pick it up, letting one half of the circle hang on one side of your hand, and the other half of the dough circle hang on the other side.
- Lay one half of the dough along the center line of the pie pan, then fold the other half over so the silicone mat is lying over the top, then remove the mat.
- Once the sheet of dough is in the pan, ease it into the corner where the base of the pan meets the sides.
- In order to do this without stretching or breaking the dough, lift the edge of the dough with one hand to allow it to fall into place while gently pressing it into the corner with the other. If not crimping or adding a top crust, trim the crust by running a knife all the way around the outer edge of the pan.
This article was featured in the InsideHook newsletter. Sign up now.


